
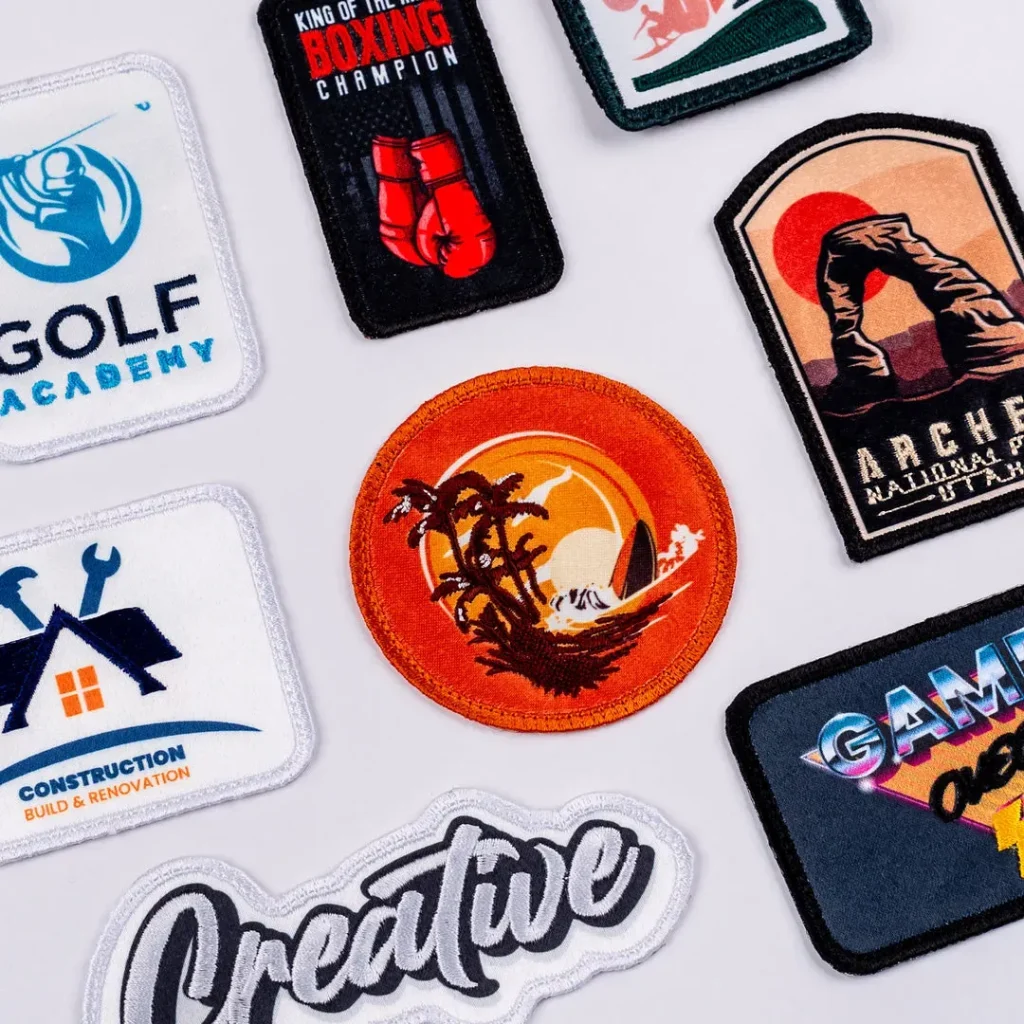
patch design is a versatile craft that blends artistry with practical techniques, inviting you to turn simple fabric into wearable art. Whether you’re personalizing jackets, backpacks, or hats, this beginner’s guide covers patch design materials, patch making tools, patch design techniques, DIY patch design, and how to design patches so you can start with confidence. You’ll learn about base fabrics, stabilizers, and threads that stand up to washing, plus practical tips on choosing colors and textures that read clearly from a distance. A clear, repeatable workflow helps you translate ideas into stitches—planning silhouettes, color contrasts, and edge finishes so your patches stay crisp and durable. By the end of this introduction, you’ll be ready to move from idea to finished patches and to explore more advanced designs that express your personal style.
Beyond the term patch design, the same concept shows up as fabric badge creation, embroidery emblem work, and applique artwork that enhances clothing and bags. Think of it as wearable art—embroidery patches, sew-on insignias, or iron-on badges that communicate identity, team pride, or personal flair. With similar methods—silhouette planning, color balancing, and careful stitching—the craft scales from tiny wovens to larger patches on backpacks or jackets. For makers, mastering stabilizers, threads, and backing options opens up countless finish possibilities, from merrow borders to soft iron-on adhesives, enabling durable, fashionable results.
Patch Design Fundamentals: Translating Concepts into Wearable Art
Patch design begins with turning a concept into a compact, legible motif that can be embroidered or woven onto fabric. For successful patches, consider a clear silhouette, strong color contrasts, and a plan for how the design will read at small sizes. Understanding how to design patches involves balancing artistic intent with practical constraints, such as fabric stability, edge finishing, and wash durability. A thoughtful approach helps ensure that the final patch communicates the idea even when viewed from a distance or on a travel jacket sleeve.
As you explore patch design fundamentals, focus on the plan and process that bridge concept and finished product. Practicing sketching at multiple scales, choosing a concise color palette, and outlining a simple production workflow will help you translate inspiration into durable, eye-catching patches. This foundation supports growth into more complex designs while preserving readability and shape integrity during wear and washing.
Patch Design Materials: Choosing Fabrics, Stabilizers, and Backings
The materials you select set the stage for a patch’s look and longevity. Patch design materials commonly feature twill as a sturdy base that takes embroidery well, paired with a merrowed edge for a professional finish. For beginners, a light to medium-weight base fabric, plus a cut-away stabilizer, provides forgiving handling and durable results. Stabilizers help prevent puckering and keep stitches aligned, which is essential for patches that must survive repeated washing.
Color and thread choices matter as much as fabric. Polyester embroidery threads offer colorfast performance and durability in sun exposure, making them a reliable option for patches that endure daily wear. When planning patch design materials, consider backings—iron-on for quick application or sew-on for longevity—and think about how many thread colors you’ll realistically use to keep the design clean and cost-effective.
Patch Making Tools: Essential Gear for Beginners
Having the right patch making tools reduces frustration and improves results. Essential gear for beginners includes sharp scissors, an embroidery hoop or stabilizer guide, a drafting pen for sketching, and a basic sewing kit. If you’re working with an embroidery machine, ensure you have the correct hoop size, needle type, and compatible threads to support your patch design.
A well-equipped workspace makes a big difference. A sturdy table, good lighting, and a turning tool for edge finishing help you achieve neat, durable patches. For iron-on patches, a household iron and pressing cloth are handy, but remember that the patch design materials and backing must be appropriate to avoid scorching. These patch making tools streamline the journey from concept to finished patch.
Patch Design Techniques: From Sketch to Stitch
Understanding patch design techniques means focusing on silhouette, color, and stitch density. A clear silhouette ensures legibility at small sizes, while a high-contrast color palette improves visibility from afar. Planning stitch types—satin for borders, fill stitches for larger areas, and running stitches for fine outlines—helps control texture and durability, key factors in patch design techniques.
Digitizing or translating a design to fabric is a core step in many patch workflows. Vector art from Inkscape or Illustrator creates clean outlines that embroidery machines can follow, while hand-stitching can benefit from careful sketching and tracing. By mapping stitch density and selecting appropriate stabilization, you prevent puckering and maintain the patch’s shape after multiple washes.
DIY Patch Design: Practical Tips for Home Crafters
DIY patch design invites experimentation with simple emblems or logos. Start with a single color to learn the process, then progressively add layers. Test patches on scrap fabrics to evaluate edge finishing, colorfastness, and how well the patch adheres under washing conditions. These practical steps help you build confidence before committing to a larger batch.
To keep DIY patch design approachable, adopt a few proven practices: use clear silhouettes, limit the color palette, and choose stable fabrics and backings to minimize distortion. Practice stitching on scrap material, and explore edge finishing options like a satin border or merrow edge for a polished, durable result.
How to Design Patches: A Practical Workflow for Every Project
Knowing how to design patches involves a repeatable workflow from ideation to finished product. Start with a simple concept, then test variations on scrap fabric or digital mockups to confirm readability and balance. Plan your color palette and decide whether you’ll stitch or heat-apply, ensuring the backing and stabilizer choices align with the patch’s intended use.
Final production brings together stitching strategy, edge finishing, and durability considerations. Whether you opt for machine embroidery for consistency or hand stitching for a personal touch, finish with a clean edge and a stable backing. As you apply the workflow to different fabrics, you’ll refine patch design decisions that work across jackets, backpacks, hats, and more.
Frequently Asked Questions
What patch design materials should I start with?
Begin with a durable base like twill, a light-to-medium-weight merrowed patch, and essential stabilizers (tear-away or cut-away). Choose polyester embroidery threads for durability and colorfastness, and decide between iron-on backings or sew-on backings. This setup supports a strong, washable patch.
What patch making tools are essential for a beginner working on patch design?
Essential patch making tools include sharp scissors, embroidery hoops or a stabilizer guide, a tech pen or erasable fabric pen, and a basic sewing kit. If you’re using an embroidery machine, ensure a compatible hoop, needle type, and thread. For hand embroidery, use a sharp needle and a fabric marker, plus a stable work surface and good lighting.
Which patch design techniques are most important for durable, legible patches?
Prioritize a clear silhouette, a high-contrast color palette, and appropriate stitch choices (satin stitches for borders, fill stitches for large areas, and running stitches for outlines). Digitize with vector art for clean embroidery, and manage stitch density to prevent puckering while maintaining visibility at small sizes.
How can I tackle a DIY patch design project from concept to finished patch?
Start with ideation and sketching, then plan colors and translate the design to fabric or vector paths. Map out stitch types and density, select compatible patch design materials and backing, prototype on scrap fabric, and then produce the final patches with machine or hand embroidery, finishing with a clean edge or merrow border.
What is a simple workflow to learn how to design patches for different fabrics?
Adopt a beginner-friendly workflow: sketch a simple concept, choose a limited high-contrast color palette, select backing and stabilizer suited to the fabric, test on scrap fabric, and finalize with consistent stitching and edge finishing for durability.
What patch design challenges should I anticipate and how can patch design materials and tools help?
Common challenges include puckering, color bleed, and ragged edges. Use proper stabilizers and backing, hoop securely, and select colorfast threads. Test patches on scrap fabric, adjust stitch density, and choose the right patch design materials and tools to maintain shape and finish after washing.
| Aspect | Key Points |
|---|---|
| Introduction to Patch Design |
|
| What Makes Patch Design Effective |
|
| Patch Design Materials: What to Start With |
|
| Tools for Patch Making: Essential Gear |
|
| Patch Design Techniques: From Sketch to Stitch |
|
| Step-by-Step Patch Design Workflow for Beginners |
|
| DIY Patch Design: Practical Tips for Beginners |
|
| Common Challenges in Patch Design (and How to Avoid Them) |
|
| Beyond the Basics: Growing Your Patch Design Skills |
|
Summary
Patch design invites you to embark on a practical, creative journey where ideas become wearable art. With the right materials, dependable tools, and thoughtful techniques, you can craft patches that look professional and endure daily wear. This guide distills the essentials of patch design into a repeatable workflow: choose a clear concept, plan your materials and techniques, test on scrap fabric, and finalize with a durable edge. As you progress, your patch design skills will grow from simple beginnings to multi-layered, expressive patches that tell stories through color, silhouette, and stitch. Remember, patch design is as much about plan and process as the final look—practice, patience, and consistent iteration will expand your repertoire across jackets, backpacks, hats, and beyond.