
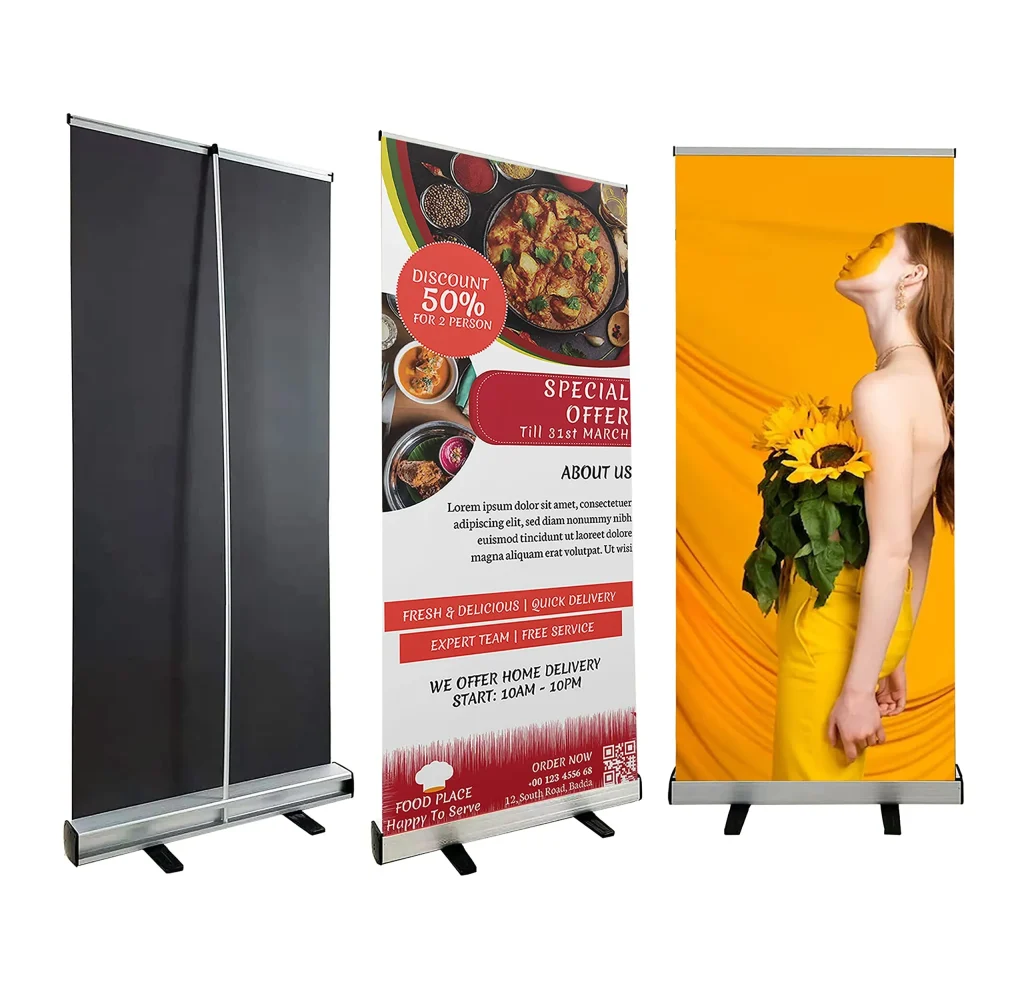
Custom roll-up printing has transformed how brands present portable, high-impact displays at events and in-store environments. From concept to finished piece, roll-up banner printing blends bold messaging with durable materials to create attention-grabbing visuals. This introductory section highlights how proper planning, typography, and color management help ensure readability in busy venues. A well-coordinated approach to size, orientation, and finish can maximize impact while keeping production efficient. By focusing on clear messaging and reliable production, you can elevate your campaigns with effective roll-up banners.
In a broader vocabulary, these portable displays are often called pull-up banners or portable signage, depending on the setting. LSI-friendly language also links them to banner printing, event collateral, retail display assets, and trade-show graphics to build a connected content profile. The goal is to communicate core messages quickly, maintaining legibility from various viewing distances and lighting conditions. By framing the topic with related concepts such as display stands, promotional signage, and branding graphics, you help search engines associate this content with broader marketing topics. Whether you call it a banner stand, a portable banner, or a compact signage solution, the emphasis remains on clarity, durability, and consistent branding.
Frequently Asked Questions
What is custom roll-up printing and why is it ideal for trade shows?
Custom roll-up printing creates portable, high-impact banners that are easy to deploy at events. It pairs with roll-up banner printing and banner display graphics to deliver consistent branding with quick setup. From concept to production, plan size, material, durability, lighting, and viewing distance to ensure the message reads quickly and clearly.
How should I design banner display graphics for effective custom roll-up printing?
Design for legibility with bold headlines, concise copy, and high-contrast colors. Use safe zones and bleeds, prepare artwork at final print size, and keep logos in vector format for sharp scaling. Aim for 150–300 DPI and manage CMYK color to ensure accurate results in banner printing.
Which materials are best for roll-up banner production to balance durability and portability?
Choose substrates that balance weight, durability, and print quality, such as woven or PVC-based banners, tear-resistant vinyl, or polyester with a protective laminate. Finishes like lamination or UV coating enhance color vibrancy and resistance to wear for roll-up banner production.
What is the typical production timeline for custom roll-up printing and how should I plan?
A common timeline includes 1–2 days for proofs and 3–7 business days for printing, finishing, and shipping. If you need multiple banners, plan staggered delivery and align timing with event schedules to ensure all banners arrive before use.
How can I ensure color accuracy in custom roll-up printing and banner printing for a consistent brand appearance?
Convert artwork to CMYK and request both digital and physical proofs to verify color accuracy. Use approved brand colors, calibrate monitors, and provide vector logos to minimize color drift. Rely on proofs to prevent surprises in banner printing.
What storage and maintenance tips help extend the life of custom roll-up banners?
Store banners in protective bags or cases to prevent creasing and material wear. Use lightweight, durable stands for frequent travel, inspect the retract mechanism regularly, and clean surfaces according to material guidelines to maintain crisp display graphics.
| Topic | Key Points |
|---|---|
| Introduction |
|
| Understanding the Roll‑Up Banner |
|
| From Concept to Production: Planning Your Roll-Up Project |
|
| Design Essentials for Roll-Up Graphics |
|
| Color Management |
|
| Material and Finishes for Durability and Appearance |
|
| Printing Technology and Process |
|
| Proofing and Quality Control |
|
| Production Timeline and Logistics |
|
| Practical Tips for Effective Roll-Up Campaigns |
|
| Case Study: A Brand Reimagines Its Trade Show Presence |
|
Summary
Conclusion: The above table distills the base content into clear, actionable points for understanding and executing effective Custom roll-up printing projects.