
Patches tell a story without words, turning fabric into a canvas of memory and personality. From bold patches for clothing to subtle accents, they can celebrate achievements, cover wear, and express taste. This guide covers how to apply patches and patch care and maintenance to keep designs vibrant. You’ll learn about iron-on patches and sew-on patches, and how backing choices affect durability. With practical steps and clear tips, patches can extend the life of a favorite item while adding personal flair.
In other words, these fabric emblems and cloth badges transform jackets, backpacks, and hats into personalized statements. Consider them as fabric embellishments or appliques that repair, renew, or celebrate an item. From embroidered patches to PVC patches, these adornments come in various shapes and backing types, such as adhesive-backed or stitched options. This terminology aligns with how search engines associate related concepts—emblems, badges, patches, appliques, and decorations—so you can easily discover guidance on selection, application, and care. Whether you search for fashion emblems or decorative patches for clothing, the core idea remains the same: a durable, stylish fix that preserves memory.
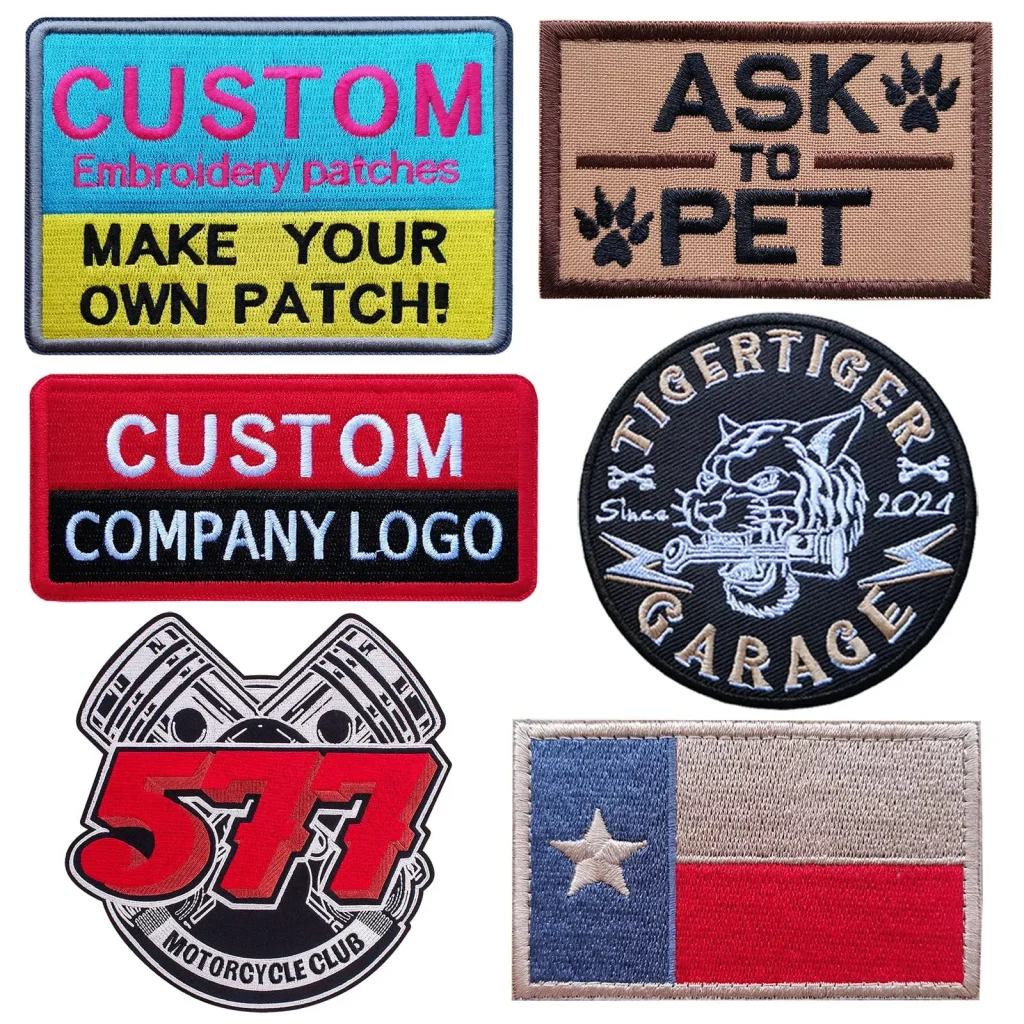
1. Understanding Patches: What They Are and Why They Matter
Patches are small pieces of fabric, embroidery, or PVC that you attach to clothing, bags, or hats. They tell a story or celebrate a memory without saying a word, and they also offer practical benefits by extending the life of a garment. In this sense, patches for clothing become not just decoration but a way to add character while preserving items you love.
As you consider your patch journey, remember that patches come in many forms—from traditional embroidered pieces to modern PVC designs—and they offer both style and function. The right patch selection can shield wear-and-tear areas, refresh a worn item, or establish a look that mirrors your personality. Understanding the basics of backing, fabric compatibility, and design helps you choose patches that will endure as your wardrobe evolves.
2. Patches for Clothing: Choosing the Right Patch for Fabric and Style
Choosing the right patch starts with matching it to your fabric. Denim, cotton twill, and canvas handle patches well, while knit fabrics can be trickier due to stretch. For delicate fabrics, select patches with a lighter backing and one that won’t irritate the surface. This careful pairing supports long-term wear and keeps the patch looking sharp.
Consider patch size, shape, and backing type as you decide on a design. Large patches make bold statements; small patches offer subtle accents. Iron-on patches use a heat-activated adhesive, while sew-on patches require stitching—and some designs combine both for extra security. Remember to think about color, material quality, and how the patch will interact with the base fabric to achieve the intended vibe.
3. Iron-On Patches vs Sew-On Patches: Pros, Cons, and Best Scenarios
Iron-on patches are quick and beginner-friendly because they use a heat-activated adhesive on the back. They’re ideal for fabrics that tolerate heat and for temporary or easily changed designs. However, their adhesion can weaken on fabrics with stretch, rough surfaces, or after frequent washing, so they’re not always the best choice for high-movement areas.
Sew-on patches offer greater durability, especially on items with a lot of wear or washing, like jackets, backpacks, or denim jeans. They stay put longer and resist peeling, but they require basic sewing skills and a bit more time. For many projects, a patch that combines both heat-activated adhesive backing with additional stitching provides the best balance of speed and security.
4. How to Apply Patches: Step-by-Step Guide for Iron-On and Sew-On
For iron-on patches, start by preparing the fabric surface—clean, dry, and flat. Position the patch precisely where you want it, then cover it with a pressing cloth. Apply heat with a dry iron, pressing firmly for 15–30 seconds in a steady, even motion. Allow the patch to cool completely and test the edges; if they lift, reapply heat and pressure.
For sew-on patches, keep the fabric clean and dry, then pin or baste the patch in place. Stitch around the edge with a tight running stitch or satin stitch, using a simple backstitch for durability. Secure the threads on the reverse side, and press gently to flatten the stitching. If you’re dealing with heavy wear, you can add a second row of stitches or a zigzag border for extra strength.
5. Care and Maintenance for Patches and Garments
Maintaining patches and the fabric they adorn is essential for longevity. Turn garments inside out during washing, use a gentle cycle with cold or warm water, and avoid high heat that can weaken adhesives or shrink fabrics. This practice helps preserve both the patch and its connection to the base item.
Patch care and maintenance also involves drying and storage habits. Air-drying is ideal; if you must use a dryer, select a low-heat setting and remove promptly to minimize damage. For iron-on patches, avoid aggressive laundering for the first 24–48 hours to let the adhesive cure, while sewn patches tolerate frequent washing better but benefit from gentle cleaners near the edges. Regular inspection of patch edges helps you re-sew or re-adhere as needed.
6. Creative Uses, Styling Tips, and Common Mistakes to Avoid
Patches aren’t limited to jackets. They can elevate backpacks, hats, shoes, jeans, and bags, and mixing textures—embroidered, PVC, or leather patches—creates a layered look. Build themed collections, like travel patches from places you’ve visited or hobby patches that reflect your interests. The key is choosing patches that complement or intentionally contrast with the base color to make the design pop.
Common mistakes to avoid include using patches that overwhelm the garment, skipping proper heat or backing, and failing to test on a hidden area first. Start with smaller patches on discreet locations to gauge how they wear over time, and always consider the garment’s fabric and care requirements to keep your patches looking fresh, vibrant, and securely attached.
Frequently Asked Questions
What are patches for clothing and how can they benefit my garments?
Patches for clothing are decorative or functional fabric pieces that you attach to garments to cover wear, reinforce fabric, or express personal style. They can extend the life of items and refresh a look when paired with the right backing and fabric.
How to apply patches? What is the best process for iron-on and sew-on options?
There are two common methods: iron-on patches and sew-on patches. For iron-ons, position the patch, cover with a cloth, and press with a hot, dry iron for 15-30 seconds, then let it cool. For sew-ons, pin or baste the patch in place and stitch around the edge with a tight running stitch or satin stitch, then secure threads.
What is the difference between iron-on patches and sew-on patches, and when should I choose each?
Iron-on patches bond with heat for quick, beginner-friendly application, but they may peel on rough surfaces or after frequent washing. Sew-on patches require stitching and are more durable under heavy use, making them ideal for jackets, bags, or fabrics with movement.
Which patches are best for denim, cotton twill, or canvas, and why should I consider patches for clothing?
Denim, cotton twill, and canvas handle patches well, while knit fabrics may stretch. For patches for clothing, choose patches with sturdy embroidery or PVC and a backing suited to the fabric and expected wear for durability.
How should I care for patches and maintain their longevity (patch care and maintenance)?
To maintain patches, turn garments inside out for washing, use gentle cycles with cold or warm water, and air-dry when possible. For iron-on patches, avoid heavy laundering for the first 24-48 hours; for sew-on patches, avoid harsh cleaners near threads.
What common mistakes should I avoid when applying patches for clothing?
Avoid patches that are too large, skip backing or heat, or test on hidden areas first. Also ensure proper alignment and follow the correct method (iron-on or sew-on) for the chosen patches for clothing to prevent peeling or puckering.
| Aspect | Key Points |
|---|---|
| What patches are | Patches are fabric, embroidery, or PVC pieces affixed to clothing, bags, or hats to decorate, repair, or refresh items. |
| Why they matter | Extend the life of garments, protect wear, and add personality with a wide range of styles from classic to whimsical. |
| Materials & backing | Iron-on and sew-on are common; some patches use both. Fabric compatibility varies (denim, cotton, canvas; knit can be tricky). |
| Choosing patches | Consider fabric compatibility, patch size/shape, backing type, design/color, and material quality for longevity. |
| Applying patches | Iron-on: position, cover with cloth, apply heat for 15–30 seconds, test edges. Sew-on: pin/baste, stitch edges, secure, optional reinforcement. |
| Care & maintenance | Turn garments inside-out, gentle wash; avoid high heat. Iron-on: cure time; sew-on: handles washing better. Inspect edges regularly. |
| Removal & repositioning | Iron-on: reheat to soften adhesive; sew-on: use seam ripper. Inspect fabric after removal; reuse if suitable. |
| Creative uses | Apply to jackets, backpacks, hats, shoes, jeans; mix textures; create themed collections; cover small defects to extend item life. |
Summary
Conclusion