
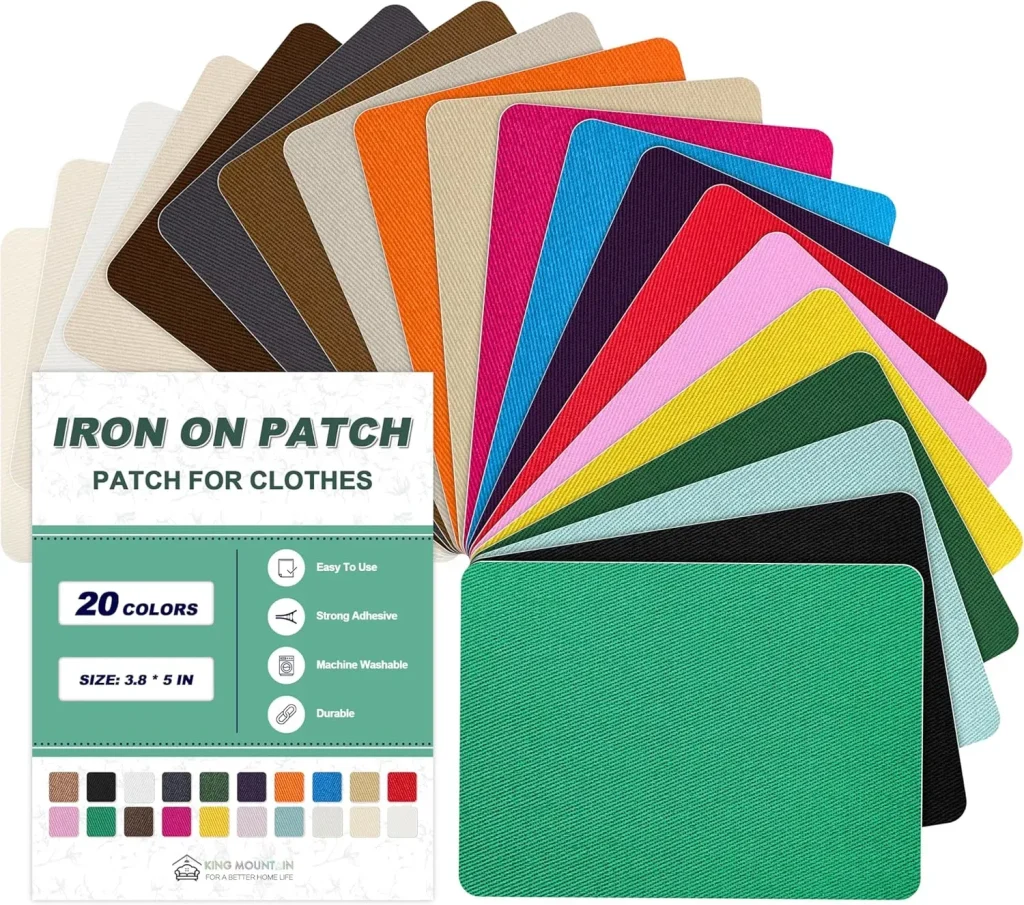
Iron-on patches are a quick and creative way to refresh jackets, backpacks, and denim, especially when paired with embroidered patches. For many crafters, this method offers speed and beginner-friendly ease, even compared with sew-on patches. A simple guide on how to apply iron-on patches helps newcomers avoid mistakes. But the durability of patches can vary with fabric type, wash cycles, and how well you seal the edges. When choosing, weigh best uses for patches against heat sensitivity and care considerations to achieve reliable results.
Seen from a different angle, adhesive-backed embroidery designs—often described as heat-activated patches—offer a quick way to personalize garments. These fabric decals, appliqué accents, or fabric badges share the same goal of decoration without sewing. Understanding their performance on various textures and in different wash cycles helps you weigh durability and care without relying on a single method. When you compare options, consider how the backing, fabric compatibility, and care instructions influence long-term wear and the overall look.
Iron-On Patches: Quick, Beginner-Friendly Wardrobe Upgrades
Iron-on patches offer fast, beginner-friendly customization for a wide range of fabrics. With a heat-activated adhesive backing, you can bond designs to jackets, backpacks, or tees using a household iron in minutes, making them ideal for quick updates and experimentation. This method is popular for embroidered patches and simple shapes, delivering a smooth, flat finish without sewing.
Durability of patches is situational: the iron-on bond can hold well on cottons and light fabrics but may fail under heavy friction or repeated washing. For best uses for patches that won’t see heavy wear, iron-on is convenient; for high-use items, reapplication or a sewn-on approach may be necessary.
Sew-On Patches vs Iron-On Patches: Pros, Cons, and Practical Tips
Iron-on patches shine for speed and beginner-friendly crafting, while sew-on patches deliver long-lasting security through stitching. When comparing the two options, weigh the pros of iron-on against the reliability of sew-on patches, and consider how to apply iron-on patches if you want quick results. For some projects, sewing might be preferable to maximize durability of patches.
Pros of sew-on patches include durability and fabric versatility, especially on denim, canvas, leather, and knit fabrics. Cons of iron-on patches include heat sensitivity and potential loosening with washes. Understanding these trade-offs helps you decide whether to rely on sew-on patches or iron-on patches depending on the project.
Durability Considerations: How Long Do Patches Last on Different Fabrics?
Durability considerations play a major role when choosing patches for different fabrics. Denim and canvas often hold patches well, especially when sewn, and iron-on patches can also perform adequately on sturdy fabrics if heat is controlled and care is followed. The longevity of patches depends on fabric structure, patch quality, and washing routines.
On knits, fleece, or delicate fabrics, adhesives may weaken after repeated washing or heat exposure. To maximize durability of patches, sew-on remains preferred for high-friction areas and frequent laundering, while iron-on patches can be suitable for lighter uses with careful handling and proper curing.
Fabric Compatibility and Best Uses for Patches across Denim, Knit, Leather, and More
Fabric compatibility drives patch performance, and the best uses for patches vary across denim, canvas, leather, wool, and knit fabrics. For heavy fabrics, sew-on patches often outperform iron-on in durability, while lightweight fabrics like cotton blends can accommodate iron-on patches for quick customization and less bulk.
Quality embroidered patches matter regardless of method. Look for patches with tight back stitching and sturdy borders, and choose between iron-on and sew-on based on fabric care and expected wear. When in doubt, consider the patch’s durability and the durability of patches in your specific use scenario.
How to Apply Iron-On Patches: A Step-by-Step Guide
If you’re learning how to apply iron-on patches, this step-by-step approach keeps the process simple: prepare the fabric, position the patch, cover with a pressing cloth, apply heat with an iron, and press firmly for 15–30 seconds without rubbing. Let the patch cool completely before handling to ensure a secure bond.
After cooling, test the bond at the corners; if it lifts, re-press with additional heat or consider reinforcing with a small zigzag stitch. Optional reinforcement can improve durability, and for best results you can follow up with guidance on how to apply iron-on patches and test on scraps before final application.
Sew-On vs Iron-On: Repair, Care, and Longevity Tips for Patches
For long-term wear and frequent laundering, sew-on patches tend to outperform iron-on patches because stitching creates a stronger bond against washing, abrasion, and friction. Sewing around the edge also preserves the patch’s appearance on a wide range of fabrics and avoids heat exposure that might affect delicate materials.
Care tips include washing on gentle cycles, turning garments inside out, and air-drying to protect patches. If a patch begins to lift, re-stitch or reattach as needed, and periodically reassess durability of patches to decide whether reattachment is required for continued use.
Frequently Asked Questions
What are iron-on patches, and how do they compare to sew-on patches and embroidered patches?
Iron-on patches are designs backed with a heat-activated adhesive, while sew-on patches rely on stitching to stay attached. Embroidered patches can be used with either method, but sewing generally offers greater durability, whereas iron-on patches provide quick, beginner-friendly application on many fabrics.
How to apply iron-on patches?
Prepare the fabric and patch, place the patch where desired, cover with a pressing cloth, and apply firm heat for 15–30 seconds with a steady press. Let cool completely, test for adhesion, and reapply heat if needed. For extra security, sew a small zigzag stitch around the edge after ironing.
What factors affect the durability of iron-on patches?
Durability of patches depends on fabric type, heat exposure, washing frequency, and patch quality. Iron-on patches may loosen on high-wear areas or with repeated washing; for longevity, consider sewing around the patch edges or choosing higher-quality embroidered patches.
What are the best uses for patches, including iron-on patches and embroidered patches?
Best uses include quick customization on lightweight fabrics with iron-on patches and long-lasting repairs on heavier fabrics with sew-on or embroidered patches. Denim, canvas, and jackets benefit from sewing for durability, while lighter fabrics suit iron-on patches for fast updates.
Can iron-on patches be used on delicate fabrics without damage?
Delicate fabrics (silk, satin, or fragile knits) may be heat-sensitive. Test on a hidden area first, use a low heat setting and a pressing cloth, and avoid prolonged contact. If in doubt, opt for sew-on patches to avoid heat exposure.
How can I care for patches to maximize their durability after application?
Allow 24 hours before washing, turn garments inside out, and use cold or warm water with gentle cycles. Avoid high-heat drying. For added security, sew around the patch edges. Regular checks and reattachments help maintain the durability of patches over time.
| Topic | Key Points |
|---|---|
| Iron-on patches | – Speed and convenience: often under 10 minutes for a single patch – Beginner-friendly: no sewing skills needed – Cost-effective for simple designs – Lay flat on lightweight fabrics – Heat sensitivity: can damage delicate fabrics – Durability concerns in high-wear areas – Washing considerations: adhesives can degrade with repeated washing – May detach sooner in outdoor/athletic settings – Suitable for quick customization on canvas, denim, fleece, or knit fabrics – Not ideal for long-term heavy-use areas without reinforcement or sewing. |
| Sew-on patches | – Durability and longevity when properly stitched – No heat risk to fabric – Broad fabric compatibility (denim, canvas, leather, wool, knits, etc.) – Repair-friendly: resewing is straightforward – Time-consuming to apply – Skill level varies: neat stitching takes practice – Edge stitching is often visible – Strong for high-use garments and heirloom items. |
| Embroidered patches & fabric compatibility | – Patch quality varies; well-made patches look better and last longer – Heavier fabrics (denim, canvas) benefit from sewn-on patches – Lightweight fabrics may be ideal for iron-on patches – Higher-quality patches tend to attach more securely regardless of method |
| Best uses for iron-on patches | – Quick customization of jackets, backpacks, or totes – Lightweight fabrics (cotton, fleece, blends) – Prototyping designs before committing to sewing – Kids’ clothing and projects for simple, safe application |
| Best uses for sew-on patches | – High-wear areas (elbows, knees, shoulder seams) – Heavy fabrics (denim, canvas, leather) – Traditional or premium patches where longevity matters – Repairs on vintage or heirloom items to avoid heat exposure |
| Durability, care, and washing | – Durability depends on patch quality and the application method – Care for iron-on patches: wait 24 hours after application; turn garment inside out; wash cold or warm; air-dry; reattach if needed – Care for sew-on patches: sew around edges with tight zigzag; finish neatly; wash gently; air-dry; re-stitch if needed |
| How to apply iron-on patches | 1) Prepare fabric: clean, dry, and flat 2) Position patch exactly where you want it 3) Cover with protective layer (cloth/parchment) 4) Apply heat with iron at the fabric’s recommended setting for 15–30 seconds 5) Check adhesion at corners; re-press if needed 6) Cool and test; wait for full bonding 7) Optional reinforcement: sew a small zigzag around the patch |
| How to sew-on patches | 1) Prepare fabric and patch 2) Pin in place 3) Choose stitch (tight zigzag, satin, or running stitch) 4) Start stitching with backstitch or lockstitch near the edge 5) Finish with a secure knot; trim threads 6) Optional edge finishing: reinforce with another pass |
| Practical tips for best results | – Test patches on scraps to dial in heat and stitch settings – Use patches with backing slightly smaller than final size for flatter edges – Heavier fabrics hold patches well; knit fabrics may benefit from sew-on to avoid heat distortion – Plan for occasional reattachment with iron-on patches – Choose patches with finishes that suit your fabric color to achieve a seamless look |
| Choosing between iron-on and sew-on: a practical framework | – Fabric type and sensitivity: delicate fabrics favor sewing – Expected wear and washing: heavy use favors sewing – Time and skill: iron-on is faster and easier for beginners – Aesthetics and finish: iron-on yields a cleaner, heat-pressed look; sewing offers a handcrafted appearance – Patch quality and availability: check manufacturer care instructions for attachment guidance |
Summary
Conclusion: Iron-on patches are a quick, beginner-friendly way to personalize clothing and gear, delivering fast results on lightweight fabrics. This descriptive overview contrasts iron-on patches with sew-on patches, highlighting how fabric type, washing frequency, and desired longevity influence the best method. For items that will see frequent washing or heavy wear, sew-on patches offer lasting durability, while iron-on patches excel for rapid updates, prototyping, and kid-friendly projects. With careful selection of patch quality and proper application, patches can extend the life of garments and express personal style across a wide range of fabrics.