
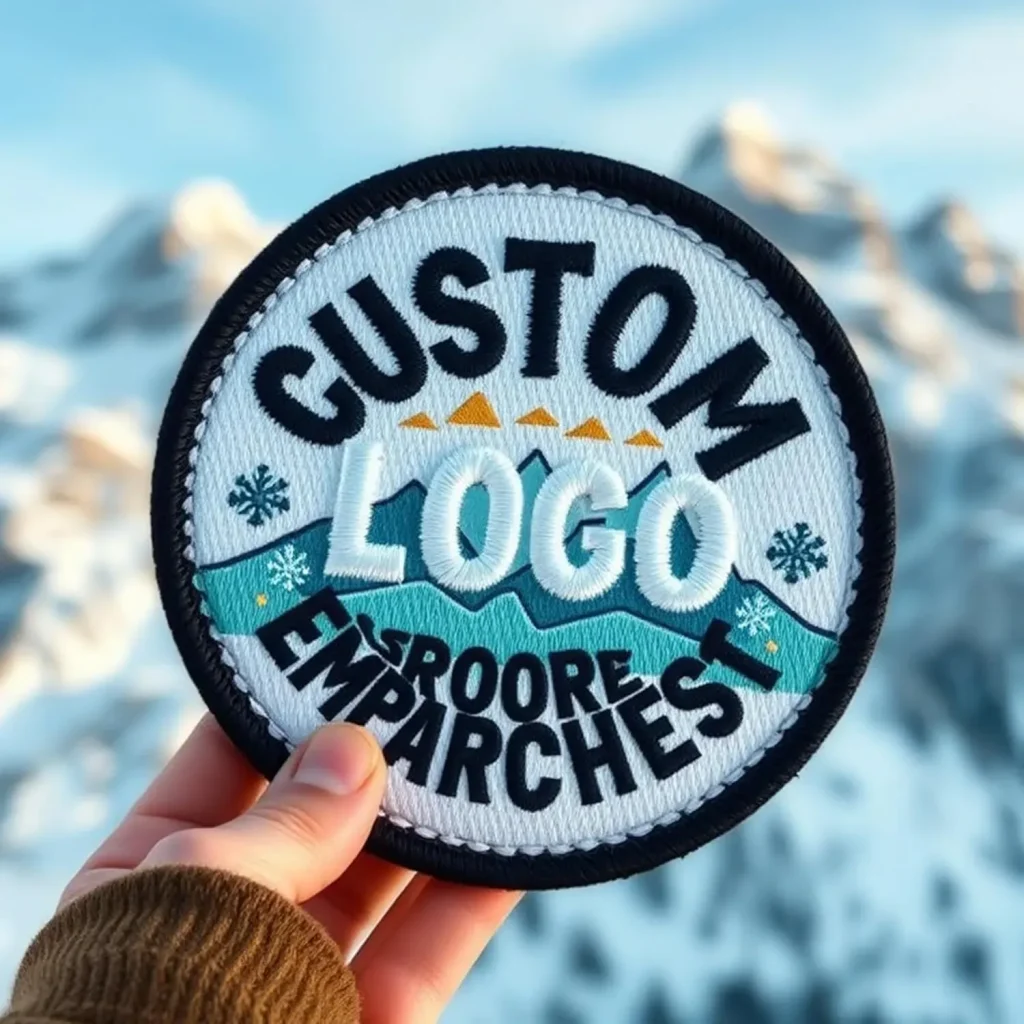
Ordering Custom Embroidered Patches has become a staple for teams, clubs, brands, and event organizers. A well-planned program, guided by custom patch design guidelines, enhances identity on uniforms, merchandise, and event gear while withstanding frequent wear. Understanding patch size and backing options, including iron-on vs sew-on patches, helps you balance detail, durability, and ease of application. This SEO-friendly guide covers lead time and pricing for embroidered patches, allowing you to budget accurately and set realistic expectations. Considering minimum order quantity patches early in your brief ensures you choose feasible quantities and manage production without surprises.
Equivalently, this process can be framed as designing custom embroidered badges or insignias that convey your organization’s identity on garments. Think in terms of badge customization, thread colors, and machine stitch density as you plan size, shape, and finish. Producers often discuss turnaround estimates and cost structures under the umbrella of production timelines and order economics, which is essential for budgeting. Where MOQs come into play, you can negotiate quantity thresholds, explore sample programs, and compare per-unit costs across suppliers. Whether you call them patches, badges, or emblems, the goal remains the same: a durable, brand-aligned accessory that attaches neatly to apparel.
1. Defining Patch Goals and Audience
Before diving into design and production, clearly define the patch’s purpose and who will wear or purchase it. Are these patches for a ceremonial team trophy, a product line, or a charity drive? Establishing the target audience guides decisions about size, shape, and backing options that best serve the use case. This early clarity aligns with custom patch design guidelines, helping translate brand guidelines into embroidery-ready artwork.
Knowing the wear scenario—whether on shirts, jackets, hats, or bags—helps determine the ideal patch dimensions and configuration. Consider how long the patches should last and whether they need to be removable or permanently attached. The more specific your brief, the faster you move toward production with fewer rounds of proofing.
2. Artwork and Design: Translating Your Brand into Embroidery
A successful patch starts with artwork that remains legible at the intended patch size. To preserve clarity, simplify complex graphics into two to four main colors and favor solid fills over delicate halftones. This approach follows established design guidelines to ensure clean embroidery and easier scaling across different garment sizes.
Provide vector artwork (AI or EPS) and a high-resolution PNG fallback, plus a color key that maps thread colors to a Pantone-like reference. These elements reduce color uncertainty and speed up production, so proofs reflect accurate color, shape, and edge treatment as you move toward final embroidery.
3. Patch Size, Shape, and Backing Options
The size and shape of a patch influence how much detail can be reproduced and how it sits on various garments. Circular patches offer a classic look for clubs, while shield or rectangular shapes convey authority and tradition. Selecting a shape that supports legibility and brand identity is a core part of patch size and backing options planning.
Backing options matter for wearability and maintenance. Iron-on is convenient for a no-sew application, sew-on offers durability, and Velcro backings provide interchangeability. You may also encounter no backing for pins or badge-style applications. When finalizing the brief, specify preferred backing for compatibility with existing gear, as this choice directly affects practicality and the overall finish, including whether to consider iron-on vs sew-on patches.
4. Ordering Custom Embroidered Patches: Lead Time, MOQs, and Pricing
Lead time and pricing for embroidered patches vary with quantity, size, backing type, color count, and design complexity. If you have a deadline, communicate the target date early so suppliers can align proofs, production milestones, and shipping windows. A transparent quote should include artwork setup, color matching, sampling, per-patch production cost, shipping, and any rush fees.
Pricing is often influenced by minimum order quantities (MOQs). If you’re launching a limited release or a new program, negotiate MOQs and explore possible trade-offs such as lower MOQs with adjusted setup charges or per-piece pricing. This is where clear expectations and a documented revision policy prevent surprises later in production.
5. Proofing, Color Matching, and Quality Assurance
Before embroidery machines run, request a digital vector proof to confirm size, shape, color accuracy, and exact text. Where feasible, obtain a physical sew-out or embroidered patch sample for final sign-off. This proofing step is your best defense against misalignment run-throughs and costly rework.
Color matching can drift between screens and thread skeins. A robust QA plan uses a color key, swatches, and controlled lighting to verify hues. Consider supplier guarantees or color matching tolerance levels and document them in the contract to ensure expectations align with actual results.
6. Packaging, Shipping, and Care Instructions
Packaging protects patches in transit and communicates quality as soon as the package is opened. Use packaging that minimizes creasing and includes care guidance that reflects the patch’s backing and fabric care needs. A well-crafted presentation, along with a brief brand story, enhances perceived value.
Care instructions should cover washing, heat exposure, and fabric compatibility to preserve adhesive performance (for iron-on) or backing durability. Clear care guidelines extend the life of patches and help customers maintain their appearance, reinforcing satisfaction with the final product.
Frequently Asked Questions
How do patch size and backing options influence Ordering Custom Embroidered Patches?
Patch size limits the level of embroidery detail, while backing options affect how the patch is applied and how durable it will be. For example, iron-on backing offers quick, no-sew application (but can vary with fabric and heat), sew-on backing provides long-lasting wear, and Velcro backing enables easy interchangeability. Choose based on garment type, wear expected, and whether removal is likely.
What should I know about lead time and pricing for embroidered patches when planning Ordering Custom Embroidered Patches?
Lead time and pricing depend on quantity, patch size, backing type, thread colors, and design complexity. Request a transparent quote that includes artwork setup, color matching, proofs, per-patch cost, shipping, and any rush fees. Also confirm the minimum order quantity (MOQ) to avoid surprises.
What is the minimum order quantity patches for Ordering Custom Embroidered Patches?
MOQs vary by supplier and patch type, and may be negotiable with adjustments to setup charges or per-piece pricing. If you’re launching a new program, consider a small pilot or test run to validate design, color accuracy, and backing compatibility before larger orders.
Iron-on vs sew-on patches: which is right for Ordering Custom Embroidered Patches?
Iron-on patches are convenient for no-sew application but can be less durable on certain fabrics or with repeated washing, while sew-on patches are typically more durable and versatile. Consider fabric type, washing guidance, and wear intent when choosing between iron-on and sew-on backing.
How do custom patch design guidelines influence Ordering Custom Embroidered Patches?
Following custom patch design guidelines helps translate brand rules into embroidery-ready files. Aim for 2–4 main colors, bold outlines, and simple graphics; provide vector artwork plus a high-resolution PNG, and include a clear color key to reduce miscommunication and speed up proofs.
What role do proofs, color matching, and backing options play in the Ordering Custom Embroidered Patches process?
Proofs confirm size, color accuracy, and text before production; expect minor color variance due to thread dyes. Use a color key, swatches, and a sample sew-out when possible, and ensure backing options align with the intended garment to guarantee proper fit, durability, and wearability.
| Section | Key Points | Practical Tips |
|---|---|---|
| Understanding Your Patch Requirements},{ | ||
| Artwork and Design: Translating Your Brand into Embroidery |
|
|
| Patch Type and Backing Options: Iron-On, Sew-On, and Beyond |
|
|
| Size, Shape, and Finish: Getting the Look Right |
|
|
| Turnaround Time, Lead Time, and Pricing |
|
|
| Proofing, Approvals, and Color Matching |
|
|
| Quality Control and Supplier Selection |
|
|
| Packaging, Shipping, and Care Instructions |
|
|
| Common Mistakes to Avoid |
|
|
| Putting It All Together: Your Final Checklist |
|
Summary
Ordering Custom Embroidered Patches is a multifaceted process that blends design, production planning, and supplier coordination. A structured checklist helps clarify purpose, audience, and wear scenarios, while attention to artwork guidelines, backing options, size, finish, lead times, and proofs minimizes surprises and maximizes final quality. When you align expectations with your producer and maintain open communication throughout design and production, you’ll receive patches that faithfully reflect your brand, endure wear, and resonate with your audience. In short, thoughtful preparation and careful vendor selection turn a patch concept into a durable, wearable symbol of team identity.