
DTF printing gear is the backbone of reliable, repeatable results for beginners diving into direct-to-film printing. Choosing the right DTF printing supplies and a solid DTF printer setup helps you skip common headaches and move from zero to prints you can be proud of. This beginner DTF toolbox includes a practical workflow, a recommended heat press for DTF, and essential DTF transfer film choices to keep your workflow smooth. With the right gear, you can reliably transfer vibrant designs onto fabrics while staying within budget. Whether you’re starting a home studio or small workshop, this descriptive guide introduces the core DTF printing gear you’ll need to achieve consistent results.
In other terms, the equipment stack behind direct-to-film printing represents a complete textile printing toolkit rather than a list of gadgets. Think of direct-to-film equipment as an integrated system—printers, transfer film, powders, and heat- or finishing tools—designed to deliver durable, vibrant results. Understanding the roles of the PET transfer film, curing powder, and a dependable heat press helps you optimize the workflow and minimize waste. This framing emphasizes the practical, scalable nature of a fabric transfer workflow and the need for reliable components with good support. By adopting a structured setup mindset, beginners can progress from trials to consistent production more quickly.
DTF Printing Gear: Building Your Beginner Toolkit for Consistent Results
DTF printing gear isn’t just a shopping list—it’s the backbone of reliable, repeatable results for beginners. A solid DTF printer setup, dependable inks, and a steady supply of DTF printing supplies set the foundation for consistent color, underbase performance, and film compatibility.
With the right beginner DTF toolbox, you can skip common headaches and move from zero to prints you’re proud of. This guide outlines essential gear, sensible budgeting, and a practical workflow to get you printing quickly, whether you’re setting up a home studio or a small workshop.
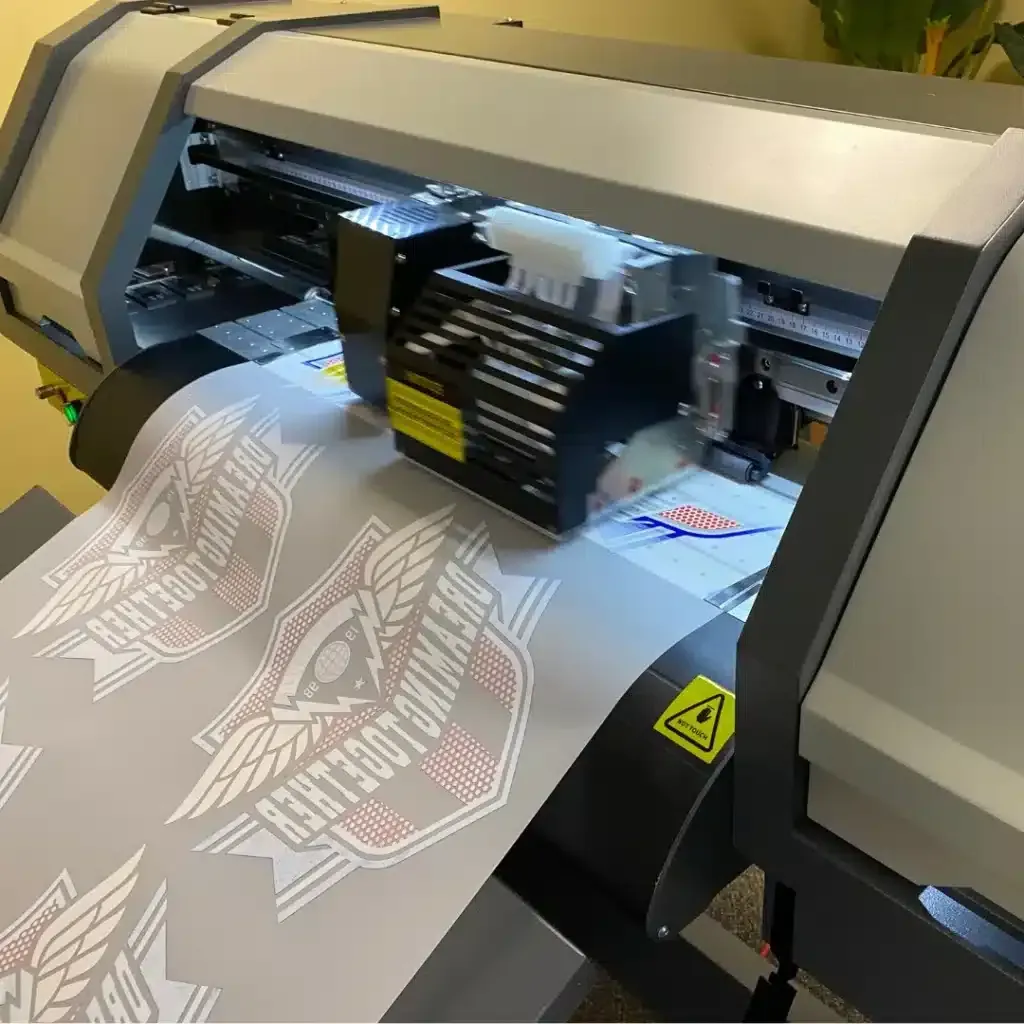
DTF Transfer Film and Printing Supplies: Choosing Materials for Quality, Consistency
DTF transfer film quality directly affects color vibrancy, edge clarity, and powder adhesion. When choosing materials, look for a smooth finish, consistent thickness, and film compatibility with your adhesive powder.
Quality DTF transfer film pairs with reliable printing supplies to minimize waste and misfeeds, helping you focus on color management, alignment, and repeatable transfers.
DTF Printer Setup and Ink Systems: Getting White Ink Right
DTF printer setup is the core of your toolkit: a dedicated DTF printer or a modified printer with DTF inks, strong white ink capability, good gray scale, and reliable ink delivery.
Pair this with a dependable RIP and color-management workflow to handle white underbase, layering, and accurate color reproduction. Investing in a capable ink system improves durability and vibrancy on various fabrics.
Heat Press for DTF: Achieving Even Heat, Correct Time and Pressure
The heat press for DTF needs to deliver even heat, even pressure, and precise control over temperature and time. Look for a model with even platen temperature and reliable pressure distribution for consistent results.
Protective tools like Teflon sheets and silicone covers help distribute heat evenly and protect surfaces. Keep finishing accessories such as parchment paper, a silicone mat, and heat-resistant gloves on hand for safe handling.
Workspace, Safety, and Maintenance in Your DTF Journey
A clean, ventilated workspace supports print quality and equipment longevity. Good organization, dust control, and proper storage reduce misfeeds and downtime.
Maintenance mindset matters: regular nozzle checks, ink cartridge inspection, cleaning routines, and keeping spare parts handy create a smoother, beginner-friendly workflow.
A Practical DTF Workflow: From Design to Durable Transfers
A simple, repeatable workflow starts with design prep and choosing the right DTF transfer film; align colors with your DTF printer setup and film choices to maximize vibrancy and accuracy.
Next, print on the DTF transfer film, apply adhesive powder, cure it, and prepare the transfer. Use the heat press to apply the design, peel at the right moment, and perform finishing steps to verify durability and color consistency—tested on actual fabrics to validate readiness for production.
Frequently Asked Questions
What essential items make up a beginner DTF toolbox for DTF printing gear?
A solid starter includes a reliable DTF printer setup, dependable DTF printing supplies (inks, including white ink), DTF transfer film, adhesive powder with a curing option, a heat press for DTF, and finishing tools like teflon sheets and heat-resistant gloves. This beginner DTF toolbox lays the groundwork for consistent, repeatable prints while keeping costs sensible.
How should I choose a DTF printer setup to ensure reliable DTF printing gear?
When building your DTF printer setup, prioritize strong white ink capability, good gray-scale performance, dependable ink delivery, and compatible RIP software for color management. A solid DTF printer setup minimizes headaches and integrates smoothly with your DTF printing supplies.
What should I look for in DTF transfer film as part of DTF printing gear?
Choose DTF transfer film with a smooth finish, consistent thickness, and compatibility with your adhesive powder. Film quality affects color vibrancy, edge clarity, and transfer reliability within your DTF printing gear.
What features matter most in a heat press for DTF for beginners?
Key features are even heat distribution, accurate temperature control, adjustable pressure, and a suitable platen size for your typical fabrics. A reliable heat press for DTF ensures consistent transfers and reduces misprints.
What common mistakes should beginners avoid with DTF printing gear and how can I avoid them?
Common mistakes include uneven powder coating, overheating or underheating, misalignment, skipping curing, and not testing on actual fabrics. To avoid these, follow a tested workflow, use reliable DTF printing supplies, and verify settings before production.
What is a practical starter workflow using DTF printing gear to get printing quickly?
Design and prep artwork, print on DTF transfer film using your DTF printer setup, apply adhesive powder and cure, align the transfer film to the fabric, and heat press at the recommended settings. Peel and finish as needed for a durable, high-quality result.
| Aspect | Key Points | Practical Tips |
|---|---|---|
| Core purpose | DTF gear is the backbone of reliable, repeatable results for beginners; helps you move from zero to prints you can be proud of. | Keep the big picture in mind when selecting gear; start with essentials and validate your workflow before expanding. |
| Printing hardware and setup | DTF printer or modified printer with white ink capability; strong grayscale; reliable ink delivery; RIP software for color management and white underbase. | Choose models with robust white ink capability and compatible RIP; plan for maintenance and ink lifecycle. |
| Inks and media | High-quality CMYK inks plus white ink; white ink essential for dark fabrics and bright color reproduction; ensure ink system is designed for DTF and easy to replace. | Ensure compatibility; stock reliable transfer film; replace ink system as needed. |
| Film, powders, and adhesive consumables | DTF transfer film quality affects color vibrancy and transfer; adhesive powder and curing; curing/finishing tools. | Select film with smooth finish and consistent thickness; use a curing oven or hot air station; keep spare powders and adhesives. |
| Heat pressing and finishing equipment | Reliable heat press; adjustable temperature, time, and pressure; TEFLON sheets and silicone covers; finishing accessories. | Ensure even heat distribution; maintain consistent pressure; stock protective sheets, gloves. |
| Workspace, safety, and maintenance | Clean, ventilated workspace; cleaning supplies; routine maintenance (nozzle checks, ink cartridge inspection). | Ventilation; schedule preventative maintenance; keep area clean to reduce misfeeds. |
| Accessories and starter comforts | Calibration targets and color charts; spare parts and backups; storage and organization. | Use color targets to dial color; store spares in labeled bins; keep the toolkit organized. |
| How to choose your DTF gear (practical tips) | Set a realistic budget; prioritize reliability and service; ensure compatibility; test before large purchases; bundles can offer discounts. | Set a core budget; request test prints; confirm compatibility with your printer and workflow; consider starter bundles. |
| A simple starter workflow | Design and prep; print on transfer film; powder application and curing; transfer prep; heat press transfer; peel and post-press; finishing touches. | Follow a consistent sequence; align carefully; verify temperatures and timings; test on target fabrics. |
| Common beginner mistakes | Inconsistent powder coating; overheating or underheating; misalignment; skipping curing; not testing on actual fabrics. | Calibrate heat press; use alignment tools; always cure; test with fabric swatches. |
| Progression, upgrades, and maintenance | Upgrades to improve output quality or speed; regular maintenance; keep toolbox organized; add items when needed. | Plan upgrades around real needs; schedule calibration; keep inventory organized to avoid downtime. |
Summary
DTF printing gear sets the foundation for reliable, repeatable results across home studios and small workshops. A well-chosen starter toolkit—reliable printers, quality inks and films, effective curing and heat-press equipment—helps you minimize waste and build confidence as you move from concepts to prints. Start with essentials, validate your workflow, and expand thoughtfully as your skills grow. With the right DTF printing gear, you can turn bold designs into durable, vibrant finishes that you can be proud of.