
The world of custom patches blends art, engineering, and fabric science to turn ordinary materials into durable, expressive emblems. This guide walks you through turning an idea into a finished patch, emphasizing how to create custom patches from concept to final product, the patch design process, and the preparation of artwork. From the first sketch through digitization, color selection, and stabilizer choice, you’ll learn how each step contributes to the look, durability, and wear resistance of embroidered patches. We explore backings, fabrics, thread types, finishes, and the sequence of patch production steps that a factory follows to ensure consistency across batches and platforms. By documenting prototypes, quality checks, and clear factory communication, you can align expectations with manufacturers and get patches that look and feel premium.
Beyond the standard language of patches, similar ideas show up as badge design, emblem creation, and textile embellishments that convey a team, club, or brand story. For an SEO-friendly, Latent Semantic Indexing approach, we connect these concepts to related fields like embroidery design, garment decoration, and accessory branding so readers and search engines see the relationships. This broader framing keeps the focus on the same practical outcomes—digitized artwork, material selection, backing considerations, and rigorous prototypes—while using alternative terms. By adopting related terminology, teams and suppliers can align around shared aims and ensure consistent workmanship across lots. The goal is to map creative intent to reliable manufacturing steps, so your designs emerge as high-quality insignia that wear and wash well.
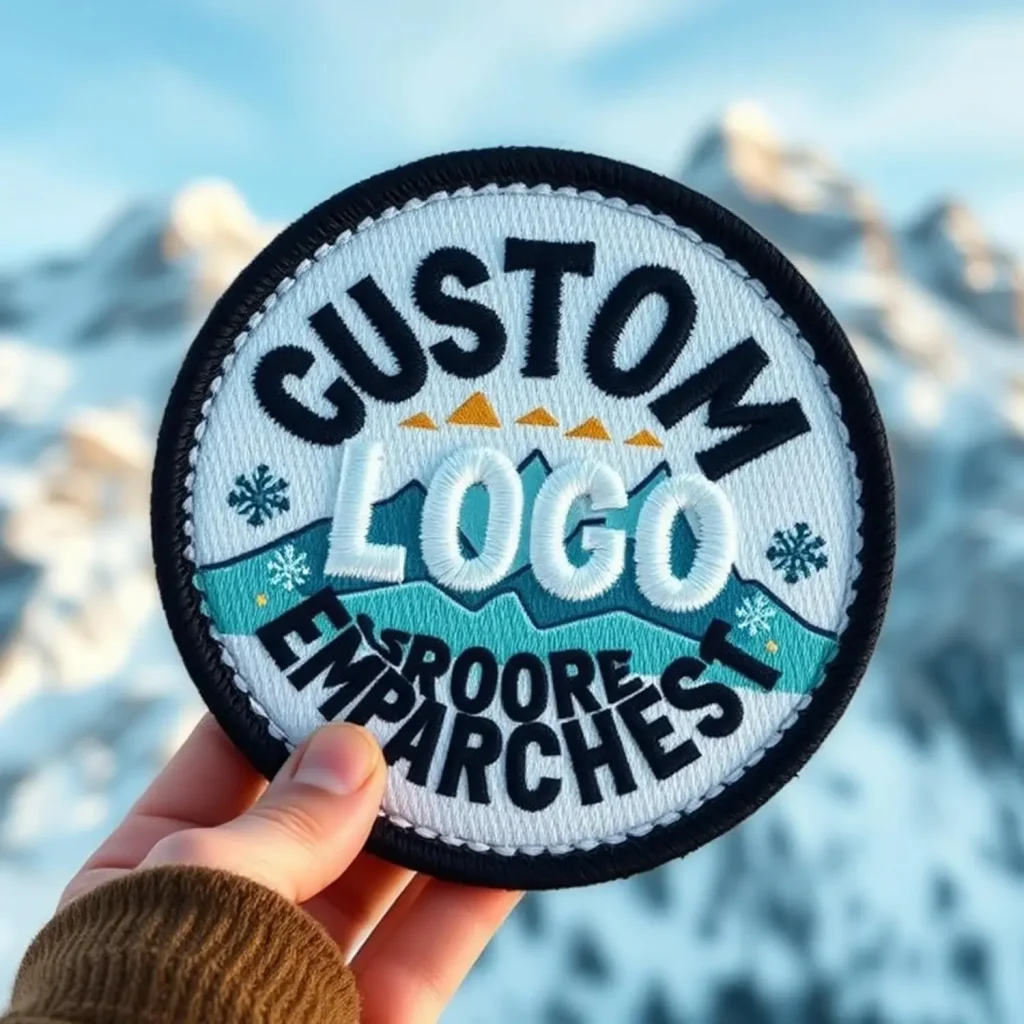
Custom Patches: From Concept to Creation
Creating custom patches begins with a clear concept that translates into a strong silhouette and legible details. When you start with a well-defined idea and a target size—usually 1 to 4 inches—you can anticipate how elements will translate to embroidery and how scalable the design is for multiple products. This is the core of the custom patches journey: turning a sketch into something that can be manufactured.
As you move from concept to creation, you’ll decide on the patch shape, backing type, and the path to factory production. Understanding how to communicate your vision to manufacturers helps ensure you can create custom patches that match the idea from sketch to final embroidery, reducing revisions and speed bumps in the patch production steps.
The Patch Design Process: Sketch, Vectorize, and Prepare for Embroidery
The patch design process begins with translating rough ideas into a clean vector-ready concept. You sketch rough ideas, simplify fine lines, and determine contour edges that will read well at patch sizes. The choices you make here influence stitch density and how many stitches per inch, which ultimately affects the look and durability of embroidered patches.
Deciding on the patch shape—circle, shield, badge, or custom contour—also affects how backing options will interact. Considering compatibility with iron-on, sew-on, or peel-and-stick backings early helps align production steps with end-user needs and reduces complexity in the patch design process.
Materials, Backing, and Stabilizers for Premium Embroidered Patches
Material selection is central to the feel and durability of embroidered patches. Common fabrics like twill, felt, canvas, or chenille set the texture, while backing choices (iron-on versus sew-on) affect application and wear. Stabilizers such as tear-away or cut-away help preserve edge integrity during stitching and washing.
Texture and thread choice matter too. Polyester threads offer colorfast performance, while metallic or iridescent options can highlight accents but require testing with the digitizer to avoid puckering. This care ensures embroidered patches wear well and retain sharp color over time.
Digitization and Color Management for Consistent Results
Digitization is the bridge between art and embroidery. The embroidery machine follows stitch paths, so a good digitizer translates the artwork into underlay, satin, and fill stitches. Clean edges and balanced density are critical to prevent distortion and ensure consistent results across runs.
Color management is essential. Convert your design colors to a practical embroidery palette with a limited number of thread colors to simplify production and control costs. Mapping color stops and planning for fabric variation keeps patch colors stable, whether you work with felt or twill or combine fabrics.
Prototype to Production: Preparing for Patch Production Steps
Prototype development moves the design into a physical patch. You’ll compare size, color accuracy, stability, and attachment to garments by inspecting test patches and adjusting stitch width, underlay, and color stops as needed. Prototyping helps catch issues before a broader production run.
As you prepare for production, define patch dimensions, backing type, color count, and finishes such as merrow edge or glow-in-the-dark thread. Clear communication with the factory about these production steps prevents surprises in the final batch and supports a smooth pilot run.
Quality Control, Finishing Touches, and Longevity of Custom Patches
Production and quality control are continuous processes. In a reliable facility, embroidery stitches the design per the digitized file, then applies backing, trims, and finishes like merrow edging or heat-seal borders. Consistent stitching tension and accurate color matching are the backbone of factory-quality emblems.
Post-production QC checks verify thread integrity, edge cleanups, adhesion, and color consistency across lots. Testing on representative fabrics helps guarantee performance in real-world wear and wash cycles, ensuring that your custom patches retain their look and durability over time.
Frequently Asked Questions
What are the key steps in the patch design process for custom patches?
A solid patch design process for custom patches starts with a clear concept and sketch, defining a scalable silhouette and the patch shape. Early decisions on backing and fabric influence later production, while digitization and color management translate the art into sew paths. Final validation with a prototype ensures size, density, and durability before moving to full production.
How do I choose materials and backing for embroidered patches in the custom patches workflow?
For embroidered patches in the custom patches workflow, material choice (twill, felt, canvas, chenille) and backing type (iron-on, sew-on, peel-and-stick) determine durability and application. Stabilizers and thread choices also affect edge definition and wear. Align these selections with the intended garment and washing conditions to optimize the patch production steps.
What does the patch production steps look like from digitization to final QC for embroidered patches?
From digitization to final QC, the patch production steps typically include digitized embroidery, backing application, trimming, and finishing options such as merrow edging or borders. Prototypes or test patches help verify size, color accuracy, and adhesion before a full run. Ongoing QC checks at each stage ensure consistency across batches.
Why is digitization crucial in the patch design process for custom patches, and what should I expect from a patch digitizer?
Digitization is crucial in the patch design process because the embroidery machine follows stitch paths rather than lines. A skilled patch digitizer translates artwork into underlay, satin, and fill stitches, with careful color management to keep tones true. Clear communication of the design intent helps deliver clean edges and consistent results for custom patches.
How can I ensure color accuracy and durability in embroidered patches during the patch production steps?
To ensure color accuracy and durability during patch production steps, map color stops and limit thread colors to reduce variation. Use colorfast threads and appropriate finishes, and test patches on representative fabrics. Rigorous quality control and preproduction checks help maintain uniform color and performance across lots.
What should I consider when planning a prototype and production run for custom patches?
When planning a prototype and production run for custom patches, validate size, color accuracy, backing adhesion, and edge finish on a sample first. Then run a small pilot batch and gather feedback before full-scale manufacturing, while clearly detailing dimensions, color counts, and finishing options to the factory.
| Aspect | Key Points |
|---|---|
| From Sketch to Concept | Strong concept with clear silhouette and legible elements; size planning (1–4 inches); simplify/bolden fine lines; choose patch shapes (circle, shield, badge, or custom contour); decide backing compatibility early (iron-on, sew-on, peel-and-stick) to influence production steps. |
| Digitization & Color Management | Digitize artwork for embroidery with appropriate stitch types (underlay, satin, fill); ensure crisp edges and balanced density; manage color palettes with limited thread colors; plan color stops for consistency across machines/facilities. |
| Material & Backing Selection | Choose fabrics (twill, felt, canvas, chenille); select backing types (iron-on, sew-on, combo) and stabilizers (tear-away, cut-away); pick thread types (polyester, rayon) and finishes (metallic, iridescent); test compatibility with digitizer. |
| Prototype & Production Prep | Create a prototype to validate size, color accuracy, stability, and attachment; request test patches for stitching density and edge definition; specify patch dimensions, backing, colors, and finishes; consider a pilot run to catch issues. |
| Production & Quality Control | Cutting and embroidery in a reliable facility; apply backing, trim, and finishes (merrow edge, heat-seal border); QC at each stage for thread breaks, frayed edges, misaligned colors, and backing adhesion; ensure color consistency across lots; plan pre-production samples and middle-run/ final QC. |
| Application & Durability Considerations | Ensure patches withstand wear and washing with colorfast threads, robust backing, and stable adhesive; test on representative fabrics to verify real-world performance. |
| Communication with Manufacturers | Maintain clear specs and ongoing dialogue with the factory about production steps, finishes, and quality benchmarks to prevent surprises in the final batch. |
Summary
Conclusion: A concise recap of the patch creation journey and its outcomes.