
Vibrant DTF transfers are reshaping how designers color fabrics, delivering bold visuals with a soft hand and durable wear. This guide offers practical DTF transfer tips for garments and color management strategies to help you achieve consistent, shop-ready results. You’ll learn how the heat press for DTF plays into adhesion and edge clarity, with step-by-step checks to keep colors sharp. By combining DTF printing on fabrics with mindful color management, you can preserve vibrancy through repeated washes. With quality materials and precise workflows, ordinary garments become eye-catching pieces that stand up to wear.
Put simply, this technology can be described as film-to-fabric transfers or digital garment printing, approaches that apply vivid artwork to textiles using adhesive films and heat. By using related terms such as garment decoration with film, color fidelity on fabrics, and substrate-ready inks, this discussion aligns with common searches while staying reader-friendly. Whether you refer to this as film-based garment graphics or commercial textile printing, the key ideas remain the same: reliable materials, calibrated heat, and proper post-press care ensure long-lasting results.
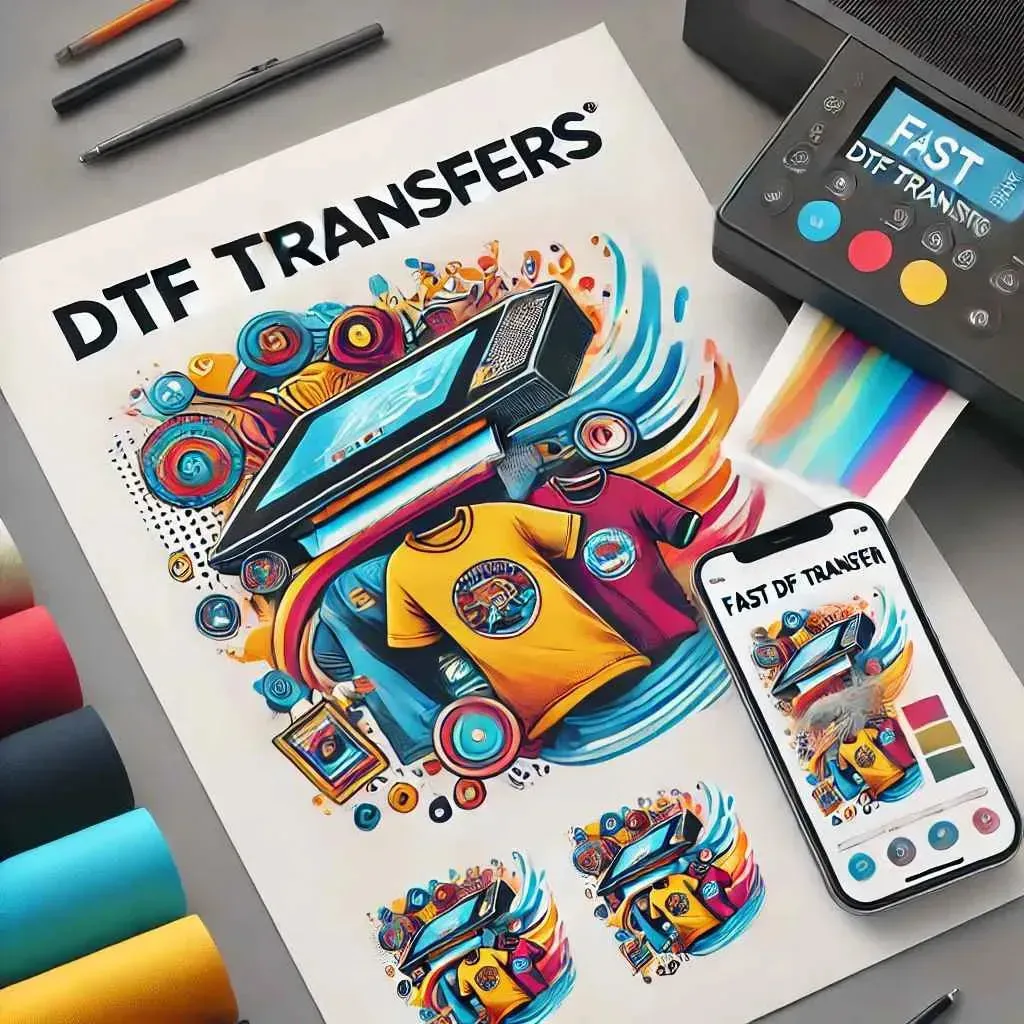
Vibrant DTF transfers on Garments: Color Management, Film Quality, and Design Fidelity
To achieve vibrant DTF transfers on garments, begin with thoughtful design fidelity and a clear color intent. DTF printing on fabrics benefits from high-resolution artwork, crisp edge definition, and an understanding of how the transfer film interacts with your pigment inks. When your design aligns with the color capabilities of your printer, you minimize surprises during application and maximize color pop. This mindset mirrors the core goals of DTF printing on fabrics, delivering results that feel professional and hold up to wear and washing.
A second focus is color management and material quality. Implement DTF transfer color management by calibrating your workflow, using proper color profiles, and soft-proofing before production. This not only supports vibrant output but also reduces batch-to-batch variation, which is a central tenet of DTF transfer tips for garments. By considering design size, color separations, and film density together, you create a reliable path from concept to vivid, durable results.
Material Quality for Consistent DTF Transfers on Garments: Film, Inks, and Substrate Selection
Material quality is a foundational pillar for reliable DTF transfers on garments. Start with a transfer film that has uniform thickness, predictable release properties, and consistent adhesion. Pair it with inks designed for your printer to maximize color saturation and edge sharpness. Premium materials reduce the risk of color bleed, ghosting, or pale areas, helping your designs maintain vibrancy across multiple garments.
Substrate selection also drives outcomes. Choosing fabrics with compatible fiber content and pre-wash history helps ink and adhesive behave predictably. This aligns with the broader principle of DTF transfers on garments, where the substrate can amplify or dampen color richness. Testing swatches on a few fabric types before a larger run reinforces color fidelity and reduces surprises in production.
Color Calibration and RIP Settings for Accurate DTF Transfers
Accurate color starts with printer calibration and RIP configuration. Go beyond basic color profiles by using test prints to verify color reproduction and adjusting RIP settings for ink density, black point, and channel balance. Fine-tuning these elements helps prevent muddy blacks and washed-out highlights, ensuring the final DTF transfer remains vivid on the garment surface.
A disciplined approach to color management includes press-ready proofs and monitor soft-proofing. When your screen representation matches the printer’s output, you’ll experience more consistent results across batches. This aligns with the ongoing objective of DTF transfer color management: translating on-screen design intent into true-to-life color on textiles.
Heat Press Protocols: Temperature, Time, and Pressure for Optimal DTF Printing
Optimizing heat press protocols is critical for strong, even transfers. Start with common starting points for many projects—such as a target range around 320–325°F (160–163°C) for 12–15 seconds—and adjust based on film, adhesive, garment type, and test results. Using a protective sheet and maintaining steady pressure avoids scorching or edge distortion, preserving color density and edge sharpness in line with the goals of vibrant DTF transfers on garments.
Consistent results come from controlled variables and incremental testing. Keep a log of temperature, time, pressure, and peel timing to refine your process. This practical discipline mirrors the concept of the heat press for DTF in real-world production, where small tweaks can yield noticeable improvements in color saturation, deboss, and longevity.
Fabric and Garment Preparation: Pre-Press, Pre-Wash, and Fabric Compatibility
Fabric and garment preparation sets the stage for successful DTF transfers on garments. Pre-pressing removes moisture, flattens fabric texture, and minimizes puffing, creating a uniform transfer surface. For fabrics with blends or finishes, a slightly longer pre-press or a light pressure check can help ensure consistent adhesion and color transfer, supporting the goals of quality DTF printing on fabrics.
Pre-wash and garment handling are equally important. Pre-washing removes finishes that can impede ink absorption, while drying to a consistent, ready state reduces variation during heat application. Selecting fabrics with compatible fiber content—such as cotton or high-cotton blends—can improve color consistency and adhesion, reinforcing the broader principle of DTF transfers on garments and the need for careful substrate planning.
Finish, Care, and Troubleshooting to Extend Vibrancy of DTF Transfers
Finishing and aftercare play a key role in preserving vibrancy. Protect printed garments from direct sunlight, heat, and abrasion, and consider storage and shipping methods that keep prints flat and uncreased. Clear aftercare guidance helps customers maintain the color richness and durability of their DTF transfers on garments, extending the life of your designs.
Troubleshooting is an essential skill for consistent results. If colors appear dull, verify ink density and check film release. Issues like ghosting or misregistration can typically be traced to inadequate pressure or uneven transfer contact, prompting re-tests and calibrated adjustments. By documenting tests and refining your settings, you align with the practical mindset behind DTF transfer tips for garments and can achieve durable, vibrant results across fabrics and runs.
Frequently Asked Questions
What makes Vibrant DTF transfers stand out on garments, and how does DTF transfer color management influence the final result?
Vibrant DTF transfers come from high-resolution artwork and accurate color management. Use vector files for clean edges, 300 dpi+ images, calibrate monitors, soft-proof, and work with a color profile compatible with your printer to minimize shifts and preserve on-garment vibrancy.
What are the essential DTF transfer tips for garments to maximize color and durability when choosing transfer film and inks?
DTF transfer tips for garments emphasize material quality: choose a uniform, reliable transfer film and proven inks, then fine-tune driver settings for saturation and dry times. This combination reduces color bleed and ghosting and helps color stay rich across many garments.
Which heat press for DTF settings are recommended to achieve vibrant DTF transfers on garments, and how do you keep results consistent?
A common starting point is 320–325°F (160–163°C) for 12–15 seconds with medium to firm pressure, using a protective sheet to prevent scorching. Apply consistent pressure and verify results with test prints to maintain edge sharpness and color density.
How does DTF printing on fabrics benefit from fabric choice and proper pre-press steps to preserve vibrancy?
Fabric choice matters: 100% cotton or high-cotton blends absorb adhesive more evenly for richer color. Always pre-wash fabrics, and pre-press 2–5 seconds to remove moisture and flatten texture before printing.
How can you optimize DTF transfer color management across batches through printer calibration and RIP settings?
DTF transfer color management across batches starts with printer calibration, test prints, and adjusting RIP settings for ink density and color channels. This ensures the color you see is consistent from batch to batch.
What aftercare steps help maintain Vibrant DTF transfers on garments after washing and finishing?
For aftercare, turn garments inside out, wash in cold water on a gentle cycle, and avoid harsh detergents. Dry at low heat or air-dry to preserve adhesion and brightness of the DTF transfers on garments.
| Aspect | Key Points |
|---|---|
| Introduction | DTF transfers offer vibrant color, soft hand feel, and durability. This guide highlights 10 expert tips focusing on quality materials, precise settings, and thoughtful design to maximize vibrancy. |
| Understanding DTF technology | DTF transfers involve printing on a transfer film with specialized ink, applying adhesive, and transferring with a heat press. Color depends on film quality, ink formulation, and color management; good workflow and design resolution help maintain vibrancy. |
| Tip 1: High-resolution designs & color management | Use vector designs for logos and edges; use 300 dpi+ raster artwork; calibrate monitors, soft-proof, and apply color profiles compatible with printer and inks to minimize color shifts. |
| Tip 2: Quality transfer film & inks | Choose film with uniform thickness and good release; select inks designed for your printer to ensure color saturation and reliable dry times; premium materials reduce color bleed and ghosting. |
| Tip 3: Calibrate printer & RIP for color accuracy | Run test prints; adjust ink density and RIP settings; tune black point and color channels to avoid muddy blacks and washed-out highlights; maintain consistency. |
| Tip 4: Pre-press to remove moisture & flatten fabric | Pre-press 2–5 seconds to remove moisture, flatten fabric for even contact; reduces puckering and misregistration. |
| Tip 5: Fabric & garment prep | 100% cotton and high-cotton blends absorb adhesive more evenly; test on poly/blends; pre-wash fabrics to remove finishes that affect ink absorption; dry completely. |
| Tip 6: Optimal heat press settings | Common starting range: 320–325°F (160–163°C) for 12–15 seconds with medium to firm pressure; use silicone or teflon sheet; ensure even contact. |
| Tip 7: Peel timing & post-press handling | Hot peel when surface is warm; follow required peel window; avoid stretching or pulling the fabric while warm; remove carrier smoothly to preserve vibrancy. |
| Tip 8: Finishing & storage protection | Shield prints from direct sunlight, high heat, and abrasive surfaces; avoid heavy items on top; keep print flat during folding/shipping to prevent distortion. |
| Tip 9: Aftercare & washing guidelines | Turn garments inside out, cold water, gentle cycle; avoid bleach/strong solvents; dry on low heat or air-dry to preserve color and adhesion. |
| Tip 10: Troubleshooting & optimization | If colors look dull, verify ink density and film release; ghosting or misalignment from insufficient pressure; re-test with calibration prints; adjust pre-press time and curing; iterate. |
| Conclusion | A concise wrap-up of the DTF transfer process emphasizing consistent testing, documentation, and iterative improvement to achieve vibrant and durable results. |
Summary
Vibrant DTF transfers showcase how art and science come together to deliver bold, durable prints on apparel. This descriptive conclusion emphasizes starting with high-resolution designs, color management, and quality materials, then dialing in printer calibration, heat-press settings, fabric prep, and finishing practices to maintain vibrancy through multiple washes. By following the 10 expert tips as a practical workflow, creators can achieve consistent, vivid results that elevate garment lines and satisfy customers. Regular testing on sample fabrics, documenting settings, and iterating based on results will help sustain Vibrant DTF transfers that stay sharp and color-rich over time.